Workflow for Sure Scripts
- Confirm with PCC the name of the accepting SNF facility.
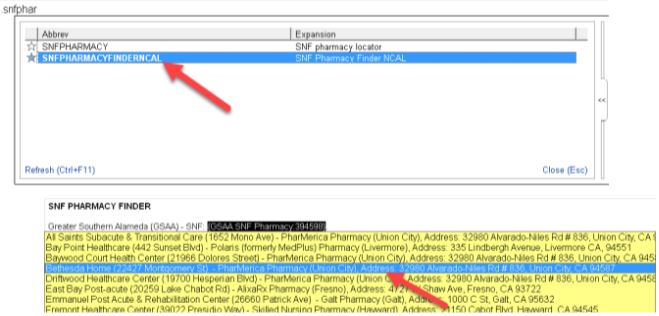
- Open a note and use the smartphrase .SNFPHARMACYFINDERNCAL, then click F2 to select service area, GSAA, then select the accepting SNF facility.
- In the discharge navigator, go to ‘Reconcile Orders’, then select the 2nd option, ‘Write Home Health, Hospice, DME, Home IV’ section to place and sign orders (NOT sign and held)
- Enter your order for controlled medication as usual, with sig and amount.
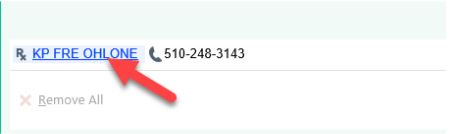
- Go to right lower part of the screen to change the discharge pharmacy
- Select ‘All’ option, enter the name and city for the pharmacy, then confirm and select the correct corresponding pharmacy for accepting SNF facility
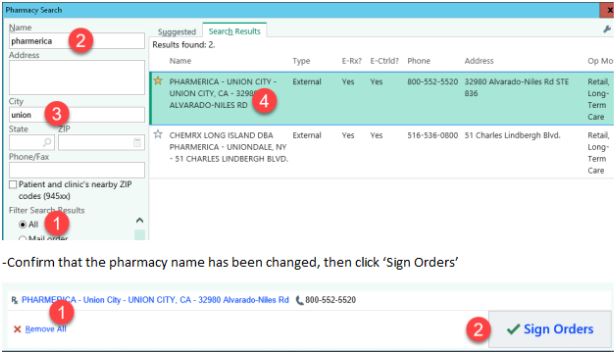
- Confirm that the pharmacy name has been changed, then click ‘Sign Orders’

- To confirm receipt of the prescription by the pharmacy, go to ‘Review’ à ‘Meds’, select the controlled medication. In the preview detail window, it should show ‘Receipt confirmed by pharmacy’
- -Workflow for non-controlled medication remains the same for the time being. They are placed, signed/held in the first part, ‘Reconcile and Write Discharge Orders’, of the discharge navigator. Just make sure that the ‘SNF’ option is used for the Rx Fill Mode, in the Discharge Info tab.